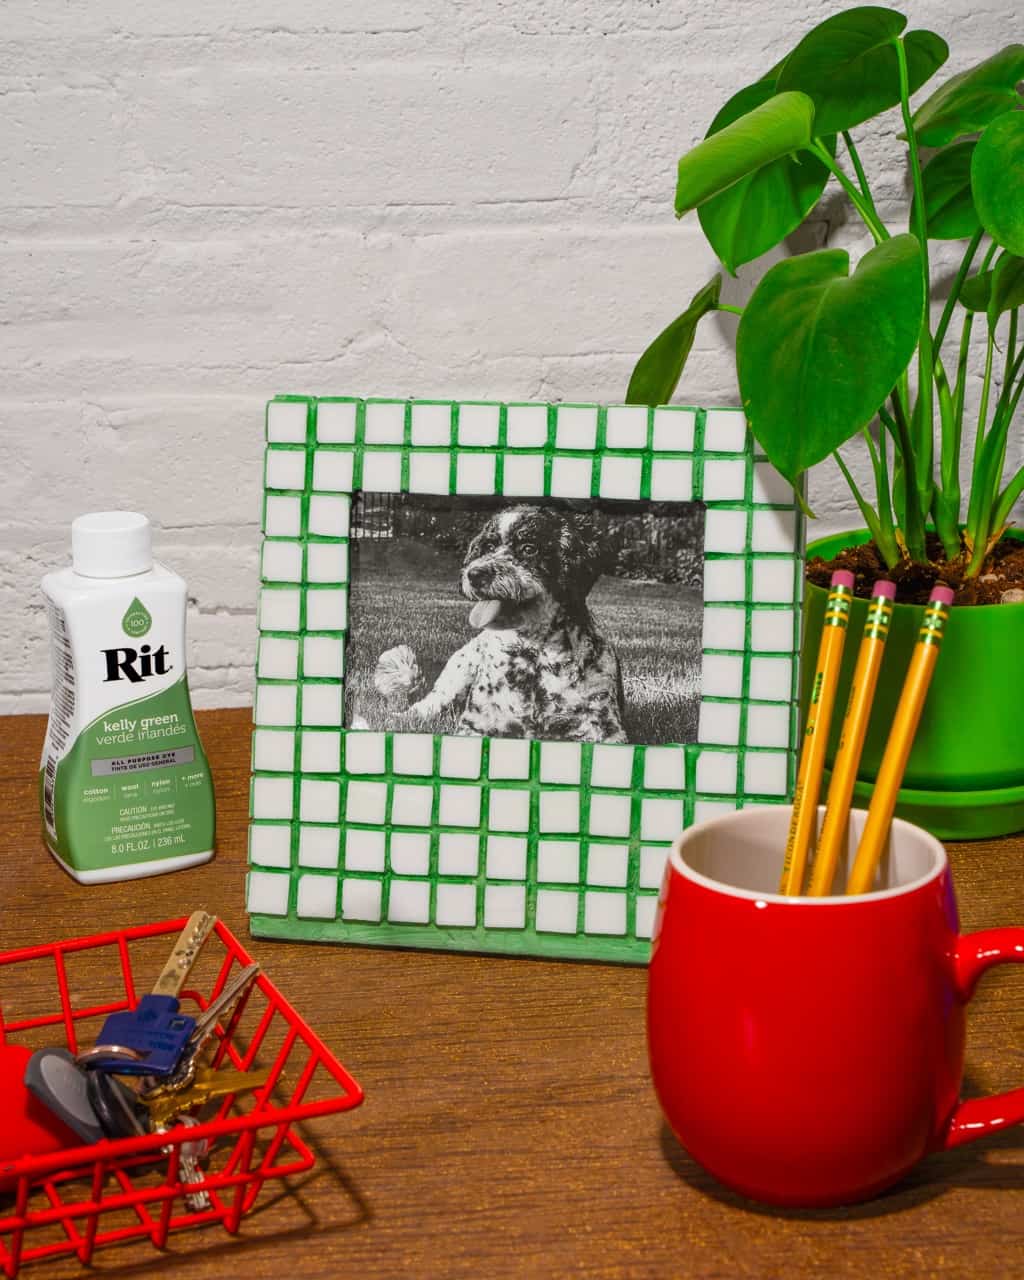
Get Creative and Inspired with these adorable RIT DYE projects! From Dyeing wood, concrete, and even grout! Get most of the supplies you need at wotever inc. and let your creativity flow!
Cover table with plastic and gather your supplies.
Add Cherry Red All-Purpose Liquid Dye to hot water in a container safe for dyeing. Stir well.
If possible, detach and remove the top wooden portion of the mushroom from the lamp.
Lightly sand to remove any finishes that might interfere with dye absorption, wipe clean with a damp paper towel.
Put on gloves and placetop of wooden mushroom in the dye bath to soak until desired color is achieved. The longer the wood stays in the dye bath, the darker the color will be.
Let wood top dry fully on a stack of paper towels.
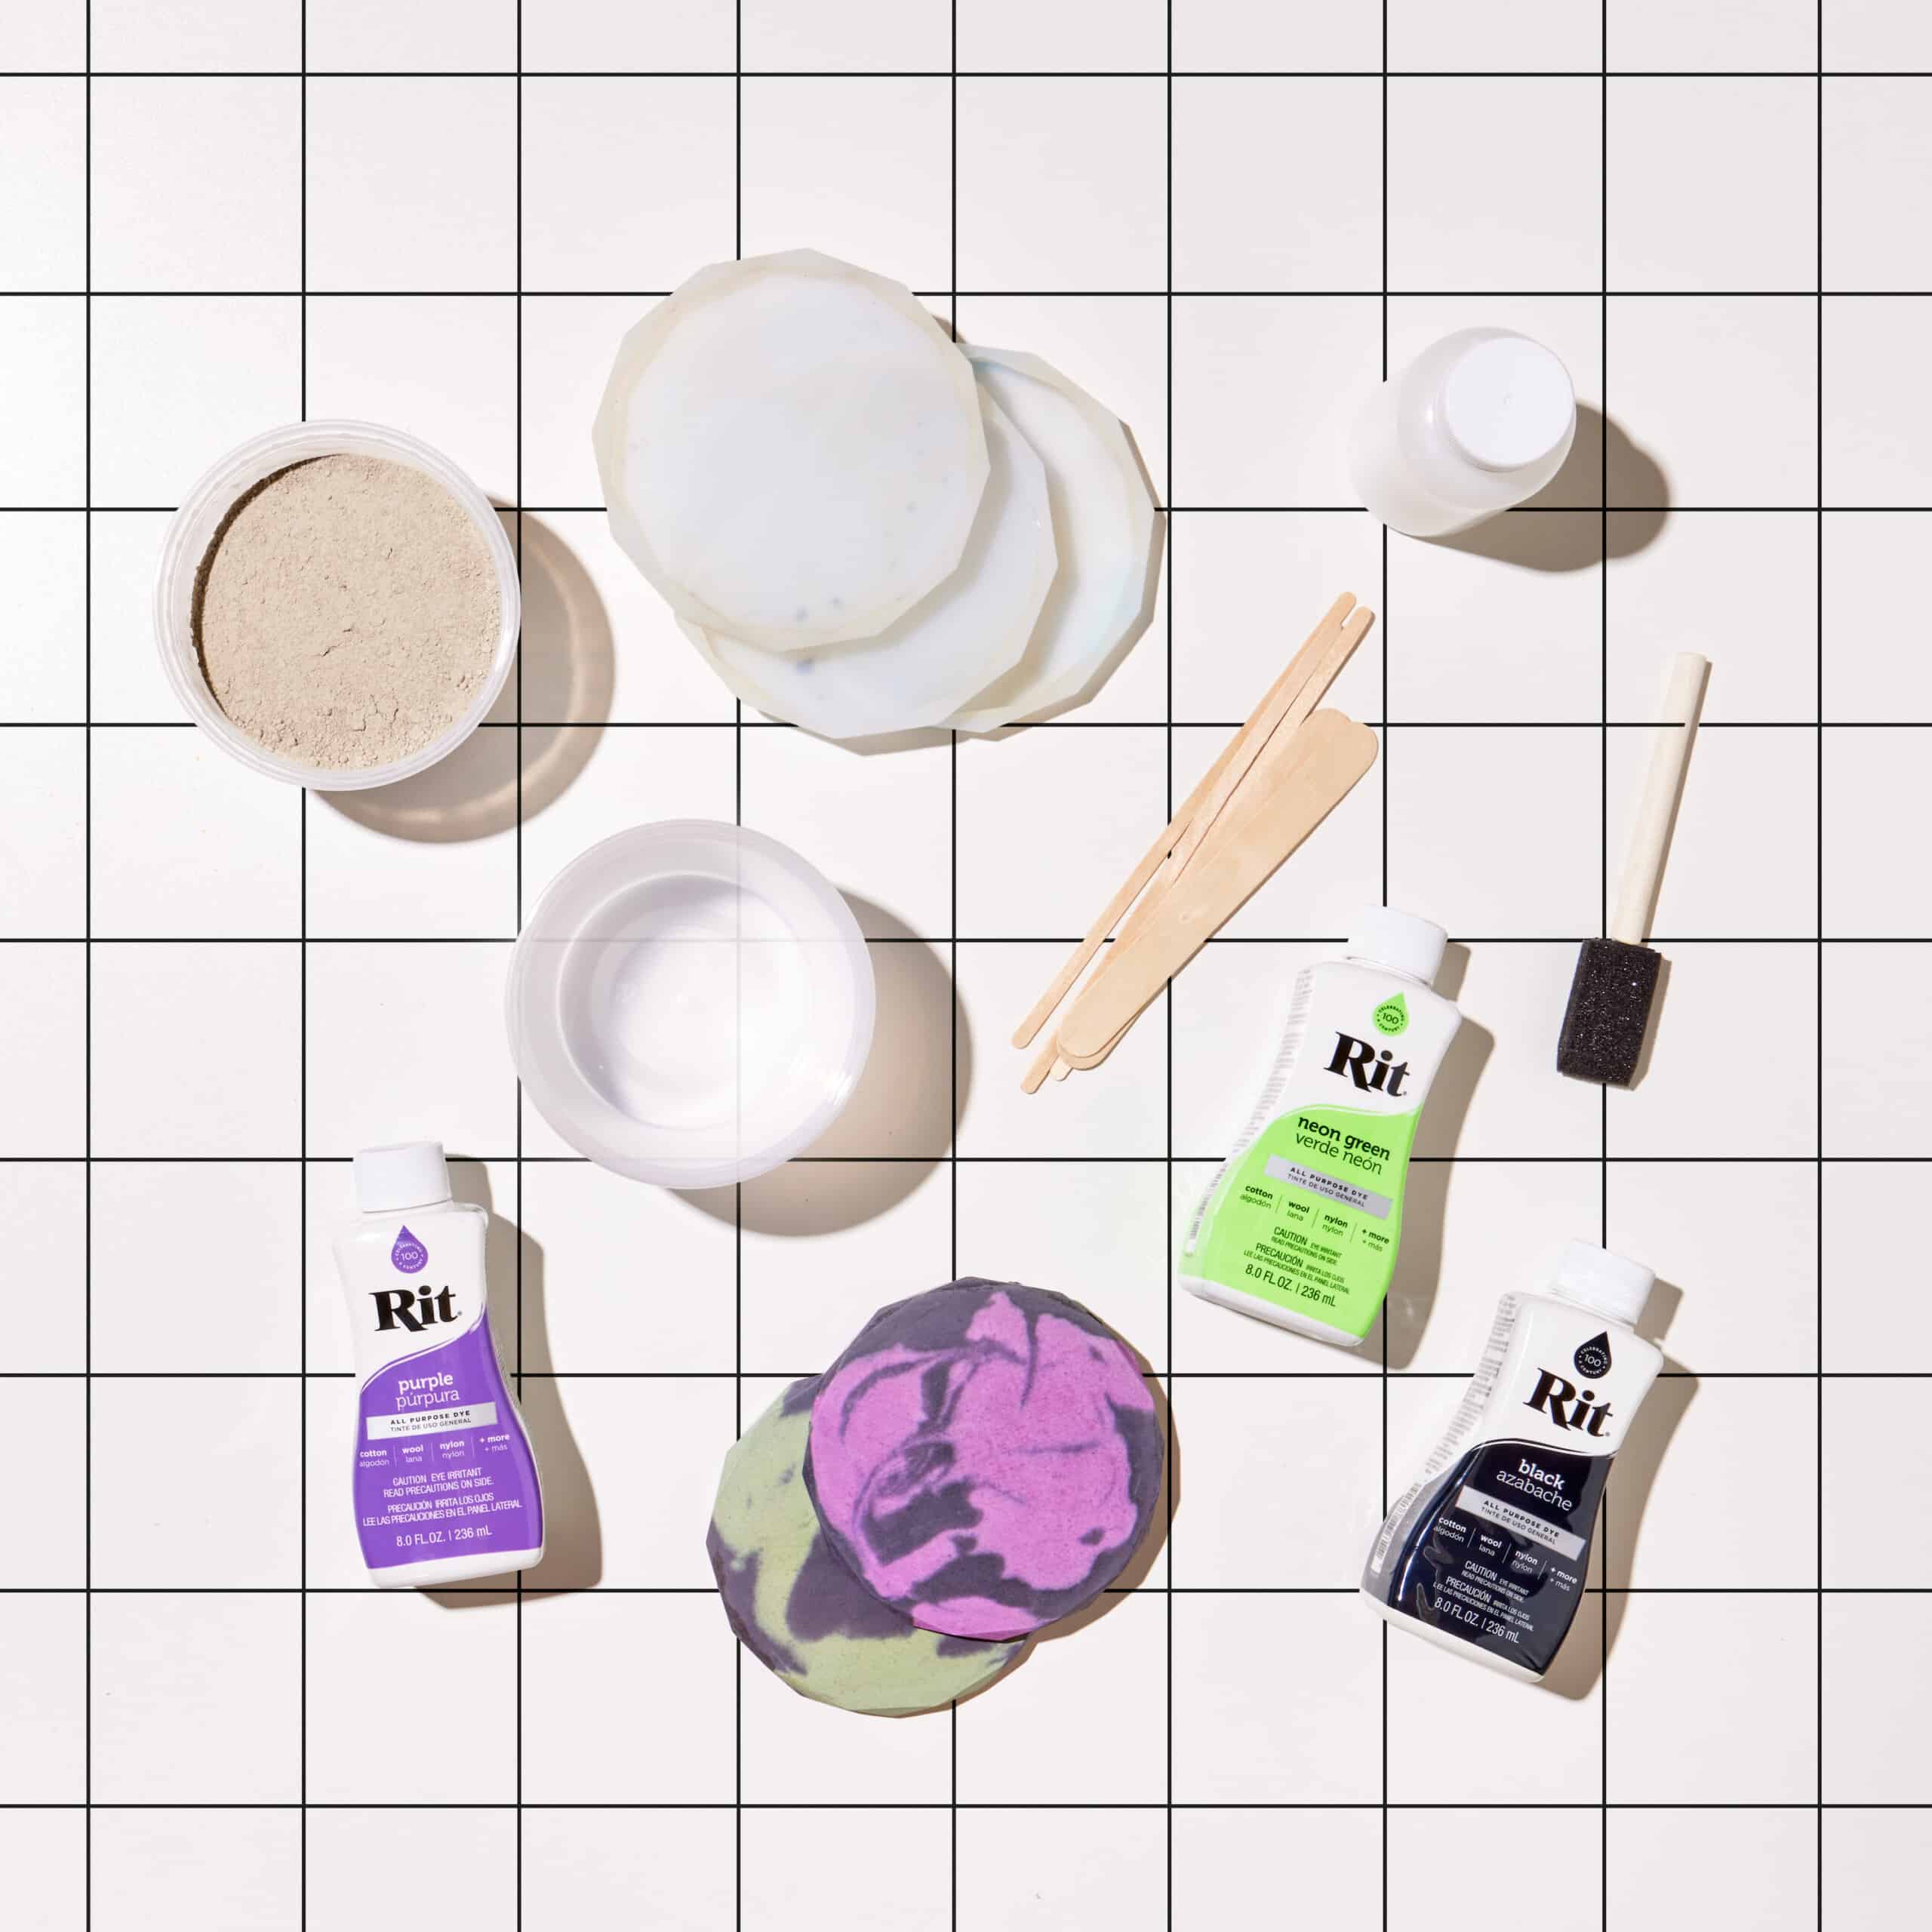
Cover work area with plastic table cover and gather supplies.
Make sure to wear protective mask, goggles and gloves when working with concrete mix.
Fill small disposable containers with 1 cup of concrete mix. Follow concrete mix instructions but instead of water, add Rit Dye All-Purpose Liquid Dye in your favorite color. If going for a pastel or lighter color, dilute the dye in water prior to mixing with concrete.
Repeat to create multiple concrete mixes in desired colors.
Stir well with wooden popsicle stick until it’s fully mixed.
Using popsicle stick, apply wet concrete mix randomly onto coaster molds to create marbling.
Pour contrasting concrete color over the mold, filling it all the way up to the brim.
Using popsicle stick, swirl the wet concrete in the mold. This is what will create the marbled look.
Gently tap mold to let out any air bubbles.
Allow the concrete to set.
Once set, carefully remove concrete from mold and gently sand any rough areas.
Wipe coaster clean with a damp paper towel and apply the finish with a paintbrush.
Optional: apply cork to the bottom of the coasters to prevent scratching on surfaces.
CONTACT US
Contact us at (416) 461-1033, email us at info@wotever-inc.com, or follow us on social media! And don’t forget to visit our store in-person or shop online to see our massive selection of proudly Canadian products.